Designing a custom payload enclosure for robot dogs and UGVs: structure, heat, cables and service access
Updated 2026-11-05 · YUANZHI ROBOTICS engineering team
The enclosure is the part of a payload that nobody puts on a datasheet, yet it decides whether the robot still walks well, whether the computer throttles in the sun, whether the LiDAR sees the floor, and whether a technician can swap a module in the field. The short answer: design from the robot outward, not from the sensors inward. Start with the mounting interface and the payload limit, choose a structure type that fits the stage of the project, then solve mass, heat, fields of view, cables and service access in that order. This guide walks through each decision with numbers from our own component catalog.
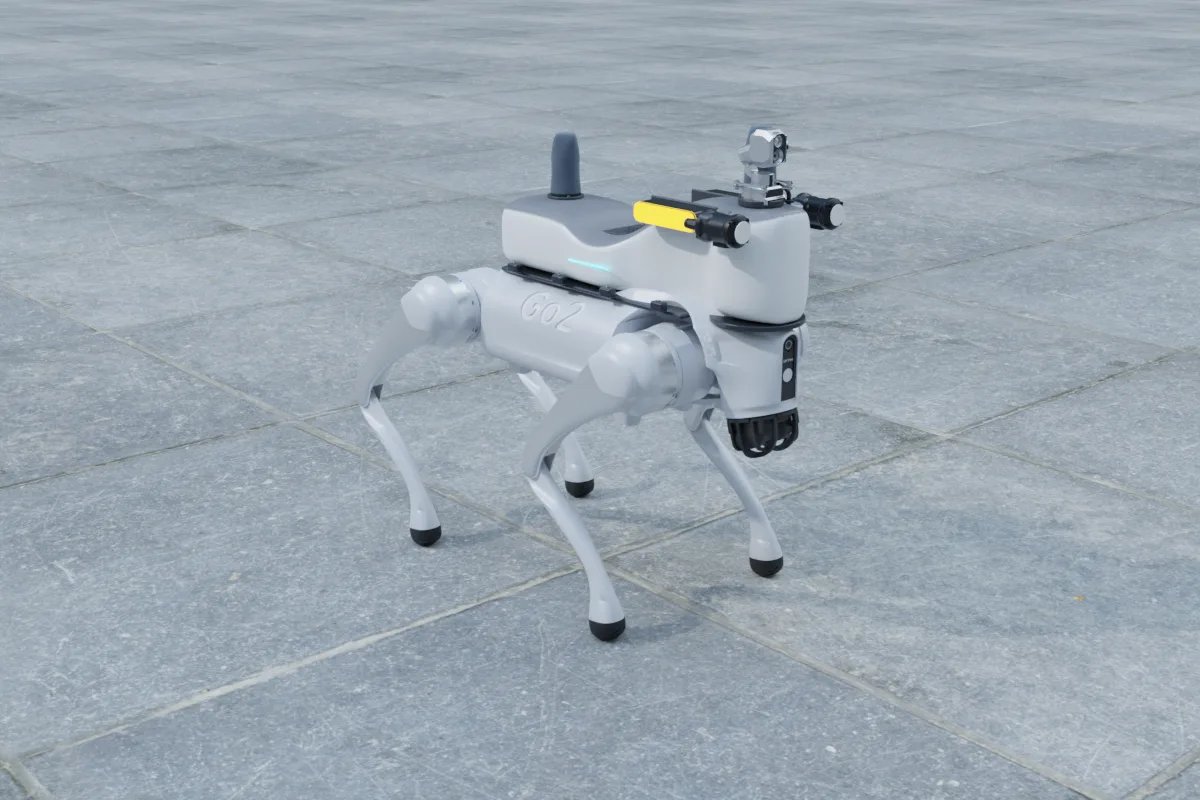
1. Start with the interface and the budget
Every robot gives you a fixed set of mounting points, a payload port with a defined voltage and current, and a rated payload. Read those first and write them on the first page of the design. Typical rated payloads from our platform list: Go2 EDU 8 kg, DEEP Robotics Lite3 4 kg, A2 25 kg, Unitree B2 40 kg, AgileX Scout Mini 10 kg, Clearpath Husky A200 75 kg. The enclosure, brackets, fasteners and cables are part of that budget, not extra. A useful rule is to allocate the structure its own line before any sensor is chosen, then fill the rest; our weight and power budget guide shows the full method.
2. Pick the structure type
There are five structure types we use repeatedly. They differ in weight, how finished they look, how easily sensors can be moved, and which robots they suit.
| Structure | Mass (our catalog) | Best for | Trade-off |
|---|---|---|---|
| Rail plate: 10 mm aluminium plate with two quick-release rails | 0.65 kg | R&D on dogs and UGVs, frequent sensor changes | Cables and boxes are exposed; looks like a test rig |
| Carbon-fibre shell on an aluminium skeleton | 0.95 kg | Small-payload dogs such as Go2 EDU | Poorer heat path than aluminium; harder to modify |
| Form-fitting aluminium back shell with internal compute bay | 1.6 kg | Finished products and customer deliveries on dogs | Sensor positions are fixed once machined |
| Double-deck back shell: battery and power below, compute and comms above | 2.4 kg | Long patrols that need an extra payload battery | Higher centre of mass; only for robots with margin |
| 2020 aluminium profile frame with top plate | 2.4 kg | Larger UGVs with full sensor sets | Heavy for a dog; very easy to extend |
A common path is to start a project on a rail plate, freeze the sensor positions after field trials, and then machine a back shell for the production units. Doing it in that order avoids paying twice for a shell whose sensor cut-outs are in the wrong place.
3. Keep the mass low and central
On a quadruped, total mass is only half the story. Mass that sits high or far forward changes how the gait controller behaves on slopes and stairs, and mass far from the body centre increases the moment the legs must resist when the robot turns. Put the heaviest items, such as a payload battery or a large compute box, as low and as close to the body centre as the mounting points allow, and push only the sensors that need a view to the front or the top. On UGVs the concern is roll-over margin on side slopes and the load on the suspension, so the same rule applies with different numbers. Check the final centre of mass on the actual CAD with all cables and fasteners included; brackets and connectors routinely add a few hundred grams that were not in the first estimate.
4. Design the heat path for the compute
The computer is usually the largest heat source in the payload. An NVIDIA Jetson Orin NX module measures 69.6 x 45 x 20 mm and can draw up to 40 W in its highest power mode; an AGX Orin 64GB module can draw up to 60 W. In a sealed enclosure that heat has to leave through the walls. The reliable approach is to mount the module's heat spreader or a heat sink directly to an aluminium wall through a thermal pad, so the shell becomes the radiator, and to keep that wall in moving air rather than against the robot's body. Fans inside a sealed box only stir hot air. For indoor robots a vented bay with a filtered fan is simpler and runs cooler. Either way, choose the Jetson power mode the enclosure can actually reject, and test it at the highest ambient temperature the customer quotes; our onboard compute guide covers the power modes.
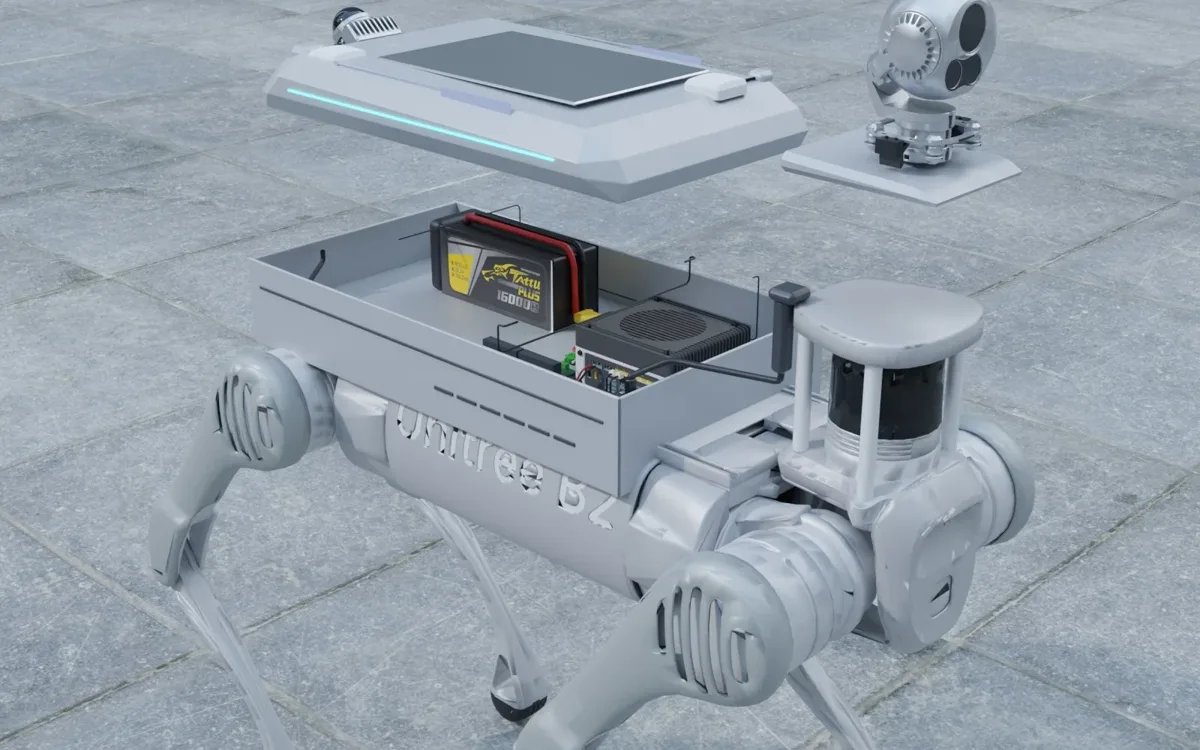
5. Keep sensor fields of view clear
A LiDAR or camera mounted on a shell sees the shell, the robot's head and, on a dog, its own front legs. A Livox Mid-360 (65 x 65 x 60 mm, 265 g, 6.5 W) has a 360 degree horizontal field and a vertical field from -7 to 52 degrees, so its mounting height and any lip of the shell in front of it decide how close to the robot it can see the ground. Draw each sensor's field of view as a cone in CAD, include the legs at the extremes of their swing, and either raise the sensor, move the obstruction, or mask the self-returns in software. The same check applies to antennas: GNSS antennas need a clear sky view and spacing between them, and 5G or mesh antennas should not sit flat against metal.
6. Route cables and choose connectors
Most field failures on payloads are cables, not electronics. Plan every cable in CAD with its bend radius, use connectors that lock, and put a strain relief at every point where a cable leaves a moving part such as a pan-tilt head. Keep high-current power and sensitive signal lines apart, and bring all external cables through glands or panel connectors on one face of the enclosure so the seal is easier to make and inspect. The IP rating guide explains how those entries decide the rating of the assembled payload.
7. Plan service access
Ask which parts will be opened during the robot's life: SIM card, storage, a fuse, the compute module, the payload battery. Put those behind one lid with captive screws and a reusable gasket, and keep the parts that should never be opened behind a separate cover. Label connectors, leave enough cable slack to lift the lid without unplugging anything, and make the payload removable from the robot as one unit with one connector so the robot can go back to the manufacturer for service without dismantling the payload.
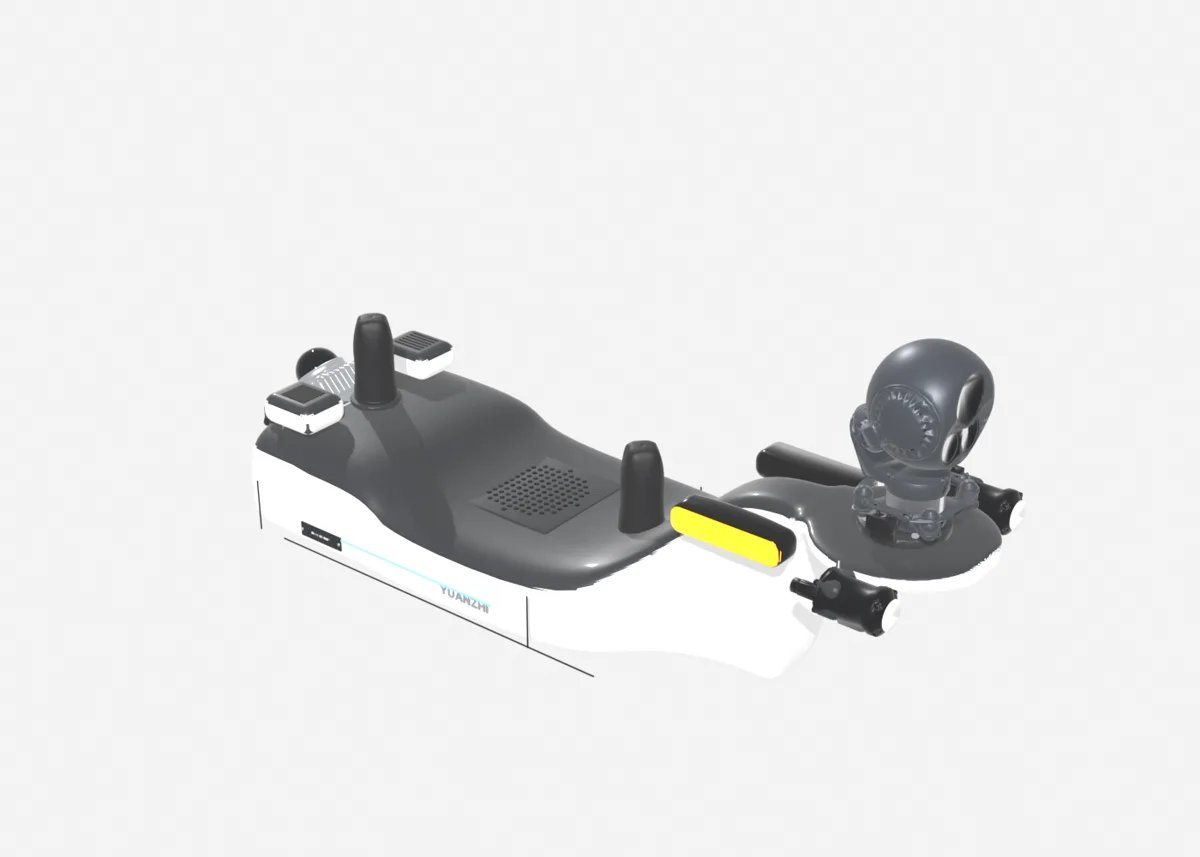
8. Prototype, then manufacture
3D-printed parts are the fastest way to test fit, cable routing and fields of view on the real robot, and they are fine for light brackets. For production, machined or sheet aluminium gives stiffness, a heat path and a ground plane in one part, while carbon-fibre panels save weight where the payload limit is tight. Freeze the design only after the robot has walked a representative route with the prototype fitted.
Getting an enclosure designed
You can explore structure types and sensor combinations, with live weight and power totals, in our payload configurator. Platform pages show what fits on specific robots, for example the Unitree Go2 EDU, DEEP Robotics Lite3, Unitree B2 and AgileX Scout Mini. If you need the enclosure designed and the payload built as one tested assembly, see our robot payload integration, UGV payload and quadruped development services.
FAQ
What material is best for a robot dog payload enclosure?
Machined or sheet aluminium is the default for production: stiff, conductive for heat and grounding, and easy to modify. Carbon fibre panels on an aluminium skeleton save weight on small robots such as the Go2 EDU or Lite3. 3D-printed nylon or ASA is fine for prototypes and small brackets, but it is a poor heat path and creeps under load in hot weather.
How heavy should a payload enclosure be?
As light as the sensor list allows, because the structure eats the same payload budget as the sensors. A rail plate in our catalog weighs 0.65 kg, a carbon-fibre shell 0.95 kg, a form-fitting aluminium back shell with an internal compute bay 1.6 kg and a double-deck shell with a battery bay 2.4 kg. On a Go2 EDU with an 8 kg rated payload, the choice between them is a significant share of the budget.
How do you cool a Jetson inside a sealed robot payload?
Bolt the module's heat spreader or a heat sink to the enclosure wall with a thermal pad so the aluminium shell becomes the radiator, and set the power mode to what the shell can reject. An Orin NX can draw up to 40 W in its highest power mode; a small sealed box will throttle it in summer sun unless the heat path is designed in. Indoor payloads can use a vented, fan-cooled bay instead.
Can I design the enclosure myself and have someone else integrate the electronics?
Yes, but share the mounting drawing, the payload port pin-out and the sensor list with the integrator before machining, because cable entries, connector positions and the compute heat path drive the mechanical design. Most rework on custom enclosures comes from those three items.
Who can design and build a custom payload enclosure?
A payload integrator that does mechanical design, electronics and software together. YUANZHI ROBOTICS designs back shells, rail plates and frames for robot dogs, UGVs and drones and fits the sensors, compute, power and software as one tested assembly.