How custom detection models are trained and deployed on inspection robots
Updated 2026-11-19 · YUANZHI ROBOTICS engineering team
A custom detection model for an inspection robot is built in five stages: define exactly what must be detected and what counts as a miss, collect images from the robot's own cameras at the real site, label them, train and validate a model on a workstation, then convert it for the robot's onboard computer (for example TensorRT on a Jetson) and check it again on the robot. Most of the effort sits in data collection and validation, not in training. Below is how each stage works in practice and where projects usually go wrong.
1. Write the detection requirement before collecting data
"Detect leaks" or "read the site" is not a requirement a model can be trained against. A usable requirement lists each target class, how small it can appear in the frame, and what the robot should do with a positive result. Typical inspection classes look like this:
- State classes: valve open/closed, breaker switch position, indicator lamp on/off, cabinet door open.
- Defect classes: oil stain on the floor, visible corrosion, missing bolt cover, foreign object on a conveyor.
- Safety classes: person without a helmet, person in a restricted zone, smoke or open flame.
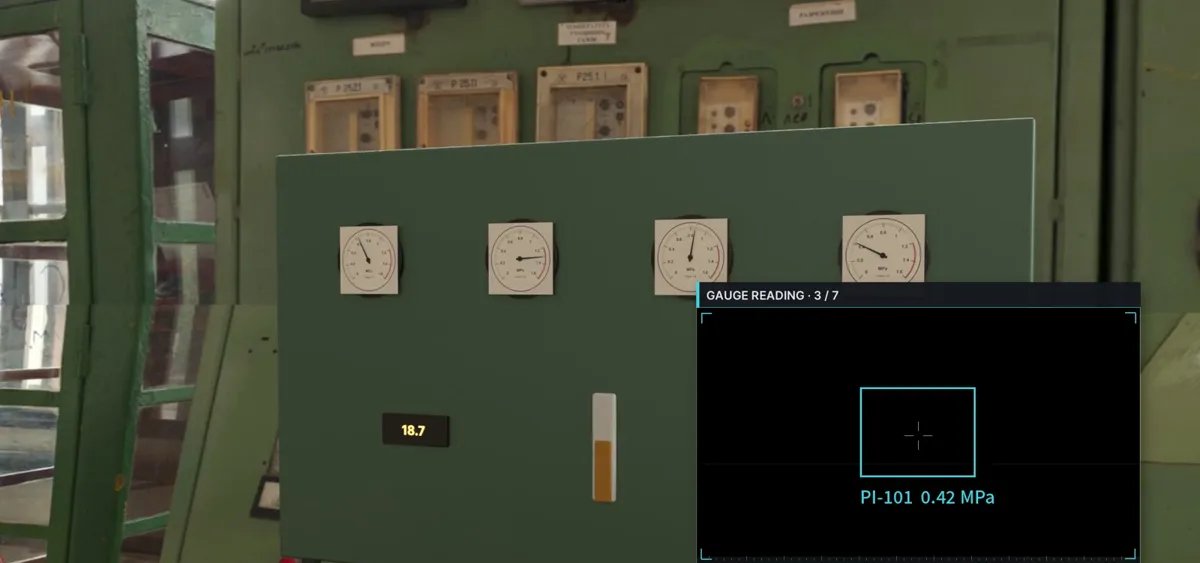
- Reading tasks: analog gauges and digital displays, which need a detector to find the dial plus a second step to read it (see our guide on automatic gauge reading).
For each class, decide which error is worse. Missing a lamp that is off may be acceptable if a human reviews the report; missing a person in a restricted zone usually is not. That decision later sets the confidence threshold.
2. Collect images with the robot, not with a phone
The single most common reason a model works in the office and fails on site is that the training images came from a different camera, height and angle. An inspection robot sees equipment from about knee or chest height, often slightly off-axis, with motion blur when the body sways, and at fixed times of day. Collect data the way the robot will actually operate:
- Drive or walk the real route and record from the same camera, lens and zoom setting the payload will use.
- Cover lighting extremes: early morning, overhead lights off, direct sunlight through windows, night with the robot's own light.
- Deliberately capture the rare states. If a valve is almost always open, have the site team close it for a recording session; a model cannot learn a state it has never seen.
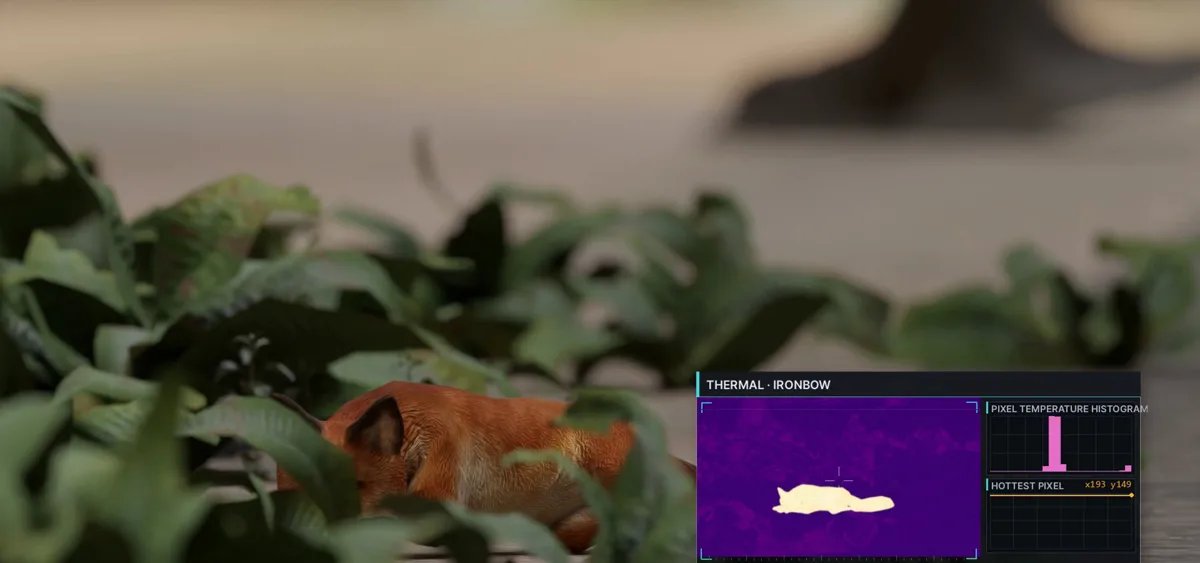
- For thermal models, record at different ambient temperatures and loads, because the same fault looks different in winter and summer.
Hundreds of well-chosen images per class from the real site usually beat thousands of generic internet images. Keep a separate set of images, ideally from a different day, that is never used for training; it is the only honest measure of performance.
3. Labelling: consistency matters more than volume
Labels are drawn as bounding boxes (or masks for leaks and stains) in a labelling tool such as CVAT or Label Studio. Write a short labelling guide with example images: where the box edge goes, whether a half-hidden valve is labelled, what to do with reflections. Two people labelling the same thing differently teaches the model noise. Review a sample of labels before training rather than after the first poor result.
4. Train and validate off the robot
Training runs on a workstation or cloud GPU, starting from a pretrained detector (YOLO-family and RT-DETR-family models are common choices) and fine-tuning on the site data. Validation should report per-class precision and recall on the held-out set, not one overall score, because one weak class hides inside a good average.
| Check | What it tells you | Typical fix if it fails |
|---|---|---|
| Per-class recall on held-out site images | Whether real faults get missed | More images of that class and state, more varied lighting |
| Per-class precision | How many false alarms the operator will see | Add look-alike negative images, raise the threshold |
| Results split by time of day or camera | Hidden dependency on lighting or one sensor | Rebalance data across conditions |
| Smallest object size detected | Whether the gimbal zoom and route distance are enough | Change zoom preset or stop position, not just the model |
The last row is easy to forget: sometimes the right fix is to change where the robot stops or how far the camera zooms, which is a route and payload change rather than a model change.
5. Deploy on the robot's onboard computer
A trained model is exported (usually to ONNX) and then compiled for the target hardware. The choice of onboard computer decides how many models and cameras you can run at once. From our parts catalog:
| Onboard compute | Module power (max) | Typical inspection use |
|---|---|---|
| Jetson Orin Nano 8GB | 25 W | One camera, one small detector |
| Jetson Orin NX 16GB | 40 W | Navigation plus a few detectors on two or three streams |
| Jetson AGX Orin 64GB | 60 W | Several cameras with heavier models, or 3D reconstruction on board |
| Hailo-8 M.2 accelerator (added to a host computer) | 2.5 W | Offloading a detector from a CPU-only or busy host |
On a Jetson, the model is built as a TensorRT engine, often at FP16 or INT8 precision. INT8 needs a calibration set of real site images, and accuracy must be re-checked afterwards because quantisation can hurt small or low-contrast targets. Then the detector is wrapped as a ROS 2 node (or a plain service) that subscribes to the camera, publishes detections with timestamps and robot pose, and saves an evidence image for each alarm. Do not skip a final test on the robot itself: run the full route with the model on and compare its alarms with a human review of the same footage.
Power budget matters here too. A 40 W compute module running continuously is a real share of a small quadruped's battery; our guide on choosing onboard compute for a robot dog covers that trade-off.
6. Keep the model alive after delivery
Sites change: new equipment is installed, labels fade, a wall is repainted. Plan for the model to be updated. A practical loop is to save every low-confidence detection and every operator-rejected alarm, review them monthly, add them to the training set and retrain. Version each model, keep the previous one on the robot, and record which version produced each inspection report so results stay traceable.
Common reasons custom models fail on site
- Training images from a different camera or height than the robot.
- Rare fault states never captured, so the model has never seen a closed valve or an active leak.
- One overall accuracy figure reported, hiding a class that almost never works.
- INT8 conversion done without re-checking small targets.
- No plan for retraining when the site changes.
Getting a custom model built for your robot
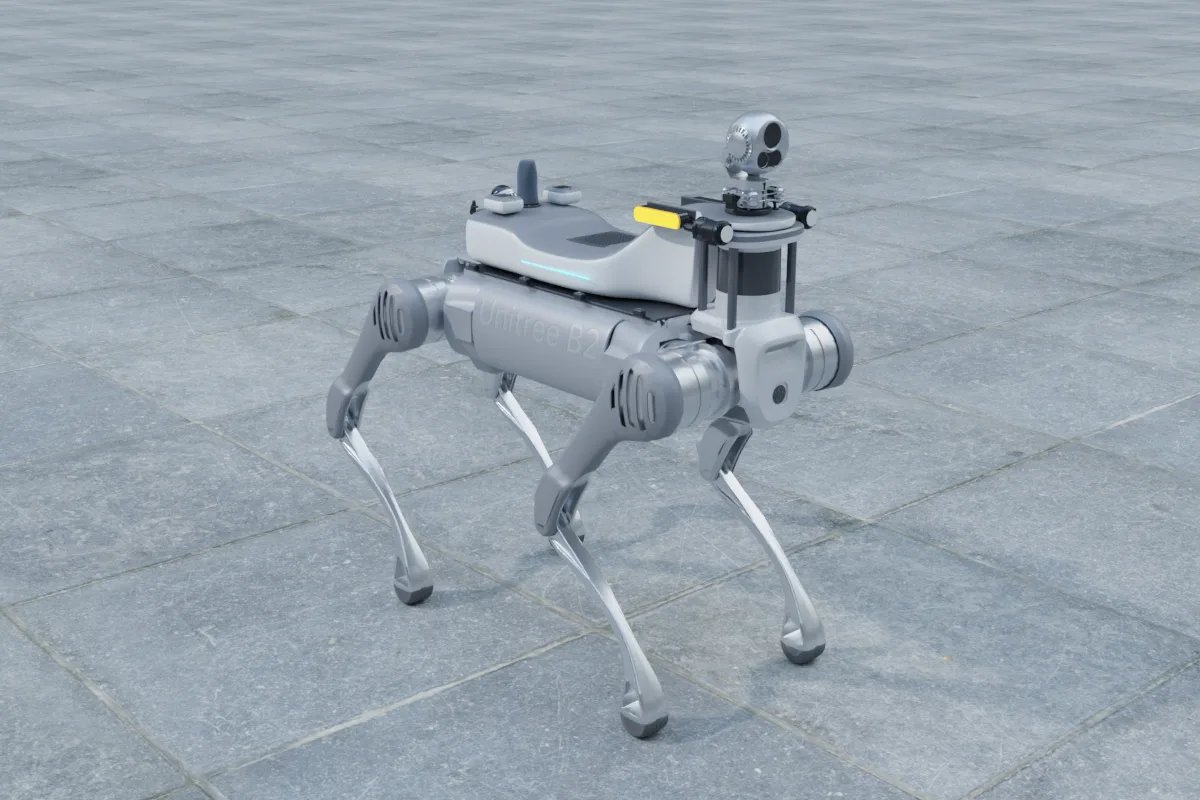
YUANZHI ROBOTICS develops recognition software for robot dogs, UGVs and drones together with the camera payload and onboard compute it runs on, so the camera, stop positions and model are designed as one system. You can sketch the hardware in the payload configurator, look at platforms such as the Unitree Go2 EDU, Unitree B2 or Clearpath Husky A200, and read about our robot autonomy and software development and inspection robot services.
FAQ
How many images do I need to train a custom detection model for an inspection robot?
There is no fixed number, but a few hundred well-chosen images per class taken by the robot's own camera at the real site, covering all states and lighting conditions, usually outperform thousands of generic images. A separate held-out set from a different day is essential for honest testing.
Can I train the model with photos from a phone instead of the robot camera?
It is a common cause of failure. Phone photos differ in lens, height, angle and image processing from the robot's camera, so the model may work in tests and miss targets on patrol. Use the payload camera along the real route wherever possible.
Which onboard computer do I need to run detection models on a robot dog?
A Jetson Orin Nano (up to 25 W) handles one camera and a small detector; a Jetson Orin NX 16GB (up to 40 W) handles navigation plus a few detectors; a Jetson AGX Orin 64GB (up to 60 W) suits several cameras or heavier models. A Hailo-8 M.2 accelerator (about 2.5 W) can offload a detector from a host computer.
Does converting a model to INT8 TensorRT reduce accuracy?
It can, especially for small or low-contrast targets. Calibrate with real site images and re-check per-class recall after conversion; fall back to FP16 for classes that degrade.
Who can develop custom detection software for an inspection robot?
YUANZHI ROBOTICS develops recognition software together with the camera payload and onboard compute for robot dogs, UGVs and drones, including on-site data collection, model training, onboard deployment and retraining.